A dental practice in Nashville had 47 photos on its Google Business Profile. Blurry operatory shots taken on a phone in 2019. A stock image of a woman smiling. A photo of the front desk Christmas decorations. A team photo where half the staff had since left the practice.
Three blocks away, a newer practice had eleven photos. All current. All correctly categorized. Exterior, reception, two treatment rooms, four team headshots, and one equipment shot. That practice held the second local pack position. The one with 47 photos was on page two.
Photo volume without a photo strategy is noise. Google doesn’t reward the practice with the most images; it rewards the practice whose images most accurately and completely represent a legitimate, operational dental business. The distinction between those two outcomes is the difference between a photo upload and a dental GBP photos optimization strategy.
According to Google Business Profile’s own platform data, businesses with photos receive 42% more requests for directions and 35% more website clicks than those without (Source: Google Business Profile Help, 2024). For dental practices, where the visual environment is a primary patient anxiety trigger, those numbers understate the conversion impact of high-quality, strategically selected photos.
This guide covers how to optimize your dental GBP photos for both local search rankings and patient conversion, the categories that matter, the technical requirements Google enforces, the upload sequence that builds signal value, and the ongoing maintenance cadence that keeps your photo layer competitive.
Table of Contents
How Google reads and uses dental GBP photos
Before selecting a single image, it helps to understand what Google’s systems are actually doing with the photos you upload because most dental practices approach photo uploads as a presentation task rather than a structured data task.
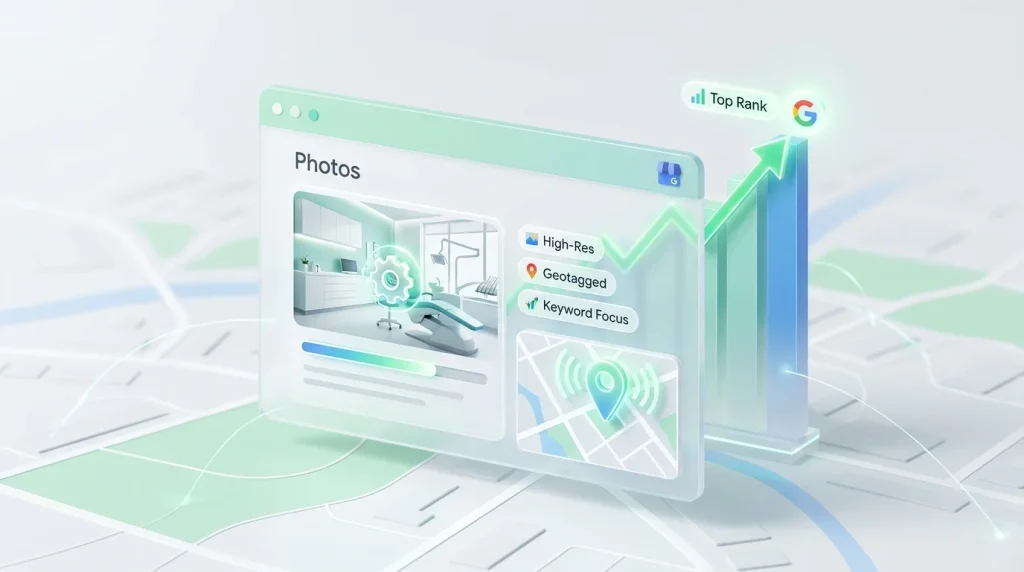
Google processes GBP photos through two distinct systems simultaneously. The first is a content classification system that identifies what each photo depicts: exterior, interior, product, team, at work, and assigns it to the corresponding category in your profile. The second is a quality assessment system that evaluates image resolution, lighting, content relevance, and whether the image appears to be a stock photo or an original.
Both systems feed Google’s confidence score for your profile. A profile with correctly categorized, high-resolution, original photos across multiple categories signals to Google that the business is legitimate, operational, and accurately represented. That confidence score influences local pack eligibility in the same way that NAP consistency and attribute completeness do not, as a dominant factor, but as a consistent differentiator in competitive markets where the top profiles are closely matched on stronger signals.
From the patient’s side, photos serve a different but equally important function. Patients evaluating dental practices before booking are making two simultaneous assessments: is this practice professional and clean, and does it look like a place I would feel comfortable? Those assessments happen in under ten seconds, driven almost entirely by the first three to four photos a patient sees in your profile. Photo optimization is conversion rate optimization as much as it is SEO.
The three photo errors that suppress dental GBP performance
Uploading stock images. Google’s classification systems flag stock images with high accuracy. A stock photo of a smiling patient or a generic dental chair doesn’t confirm that your practice exists at the listed address, which is precisely what Google’s photo verification logic is looking for. Stock images on a dental GBP are a trust signal deficit, not a neutral placeholder.
Leaving Google-generated photos unmanaged. When patients visit your practice and take photos that get associated with your GBP, or when Google pulls images from Street View or third-party sources, those images appear on your profile whether you want them there or not. A blurry Street View capture of your building exterior, or a patient photo of your waiting room taken during a renovation, can become the first image a prospective patient sees. Managing your photo layer means actively uploading better images that displace these, not just adding to the total count.
Uploading everything at once and never returning. A single bulk upload of twenty photos in January 2023, followed by zero uploads since signals to Google that your profile is inactive. Photo recency is a freshness signal. Google interprets regular new uploads as evidence that the practice is operational and engaged. Two new photos per month, added consistently, outperform twenty photos uploaded once in terms of the activity signal they generate over a twelve-month horizon.
The photo categories that matter for dental GBP photos ranking and conversion
Google organizes GBP photos into specific categories. For dental practices, the categories that carry the most combined ranking and conversion weight are the following, listed in the order you should populate them.
Exterior photos
Exterior photos are the navigational layer of your GBP photo set. Their primary function is to confirm that a patient who has booked an appointment and is driving to your practice uses your exterior photo to verify they’ve arrived at the right location.
Upload a minimum of two exterior photos: one showing your building from the street with your signage clearly visible, and one showing your parking area or building entrance. If your practice shares a building with other businesses, include a photo that clearly identifies which entrance is yours.
Exterior photos should be taken in daylight with good natural lighting. Avoid photos taken in overcast conditions or at night, as these compress poorly and lose legibility at the thumbnail sizes Google displays in Maps results.
Interior and reception photos
Your reception and waiting area photos are the first interior impression a prospective patient forms of your practice. They answer the anxiety question before the patient has spoken to anyone: Is this a clean, professional, modern environment?
Two to three interior photos are sufficient if they’re well-executed. Shoot from the entrance looking into the reception area, the angle that most closely approximates what a new patient sees when they walk in. Ensure the space is clean, well-lit, and free of clutter, personal items, or anything that dates the photo.
Treatment room photos
Treatment room photos address the procedure anxiety variable directly. For patients with dental anxiety, a significant share of the adult population in the US sees a clean, modern operatory before their first visit, which reduces the anticipatory stress that produces last-minute cancellations.
Upload one to two treatment room photos showing your primary operatory. Modern equipment visible in the frame includes digital X-ray sensors, intraoral cameras, and updated chairs communicates clinical quality without requiring a caption. Avoid photos where the chair is reclined or where clinical detritus is visible. The photo should look like the room five minutes before a patient arrives, not five minutes after one leaves.
Team photos
Team photos are conversion signals. Patients book with people, not buildings, and a profile with identifiable provider headshots consistently generates higher booking intent than one with only facility photos.
Upload a team group photo and individual headshots for each provider. Headshots should be professional: consistent background, professional attire, direct eye contact, neutral expression, or natural smile. A provider photo taken at a conference or cropped from a group shot communicates a different level of professional investment than a dedicated headshot, and patients notice the difference at an unconscious level that influences their booking decision.
The full breakdown of which photo types drive the strongest ranking and conversion results by practice type, including equipment photos, before-and-after clinical images, and neighborhood context shots, is covered in the best types of photos for a dental Google Business Profile.
Technical requirements and upload standards for dental GBP photos
Google enforces specific technical requirements for GBP photos. Images that don’t meet these requirements are either rejected at upload or downgraded in quality scoring.
Format and file size
Google accepts JPG and PNG formats. JPG is the preferred format for photographic content. PNG is appropriate for graphics or images with text overlays, though text overlays on GBP photos are generally inadvisable since Google’s quality systems flag them as promotional content.
Minimum file size is 10KB. The maximum is 5MB. The practical target for dental practice photos is 500KB to 2MB, large enough to display at high resolution in the knowledge panel, small enough to upload without compression artifacts.
Resolution and dimensions
Minimum dimensions are 720 x 720 pixels. Google recommends 1080 x 1080 pixels as the practical floor for photos that will display well across desktop and mobile surfaces. For photos intended as your cover photo, shoot at 1332 x 750 pixels or larger to avoid cropping artifacts.
The cover photo selection and sizing framework for dental practices is covered in full in the dental GBP cover photo guide.
Lighting and content quality standards
Google’s photo quality scoring system penalizes images with poor lighting, heavy compression artifacts, visible watermarks, or promotional text overlaid on the image. Shoot in natural light where possible. Never embed text in your photos. A treatment room photo with “Now Accepting New Patients” overlaid is a guideline violation exposure point and a quality scoring penalty simultaneously.
Geotagging
Embedding GPS coordinates in your photo metadata before uploading adds a structured geographic signal to your visual content. Most smartphones automatically embed location data when location services are enabled during the shoot. If shooting with a dedicated camera, use a free metadata editor to add coordinates matching your practice address before upload. Geotagged photos reinforce your proximity signals; they tell Google’s systems that the images were created at or near the address on your profile.
The upload sequence that builds the signal value
At launch or after a complete profile rebuild
Upload in this sequence over the first two weeks:
Day 1: Two exterior photos, street view with signage, parking, or entrance. Day 3: Two to three interior and reception photos. Day 5: One to two treatment room photos. Day 7: Team group photo. Day 9 to 14: Individual provider headshots, one per day.
Spacing uploads over two weeks rather than bulk-uploading on day one creates an activity signal pattern that reads as an engaged, actively managed profile rather than a one-time setup event.
Ongoing upload cadence
After the initial build, maintain a minimum of two new photo uploads per month, rotating through service or technology photos, seasonal exterior updates, and team updates when staffing changes occur.
Monitor your patient-generated photos monthly. Flag any that are blurry, irrelevant, or inaccurate. Displace unwanted images by uploading enough high-quality owner photos that yours dominate the visible photo set in your knowledge panel.
Common dental GBP photo mistakes and their ranking consequences
Using the same photo as both the cover and the first upload
Your cover photo is the highest-visibility real estate in your GBP knowledge panel. Using a generic exterior shot when a better option exists wastes that position. Your cover photo should be your single best image, the one that most effectively converts a browsing patient into a booking patient.
Uploading photos without reviewing how they display in Maps
A photo that looks well-composed in your camera roll can display poorly in the thumbnail crops Google applies in Maps results. Always check how uploaded photos appear in your live GBP listing from a mobile device before considering the upload complete. Recrop or reshoot anything that loses legibility at thumbnail size.
Neglecting the photo panel after an office renovation
A practice that renovated its reception area in 2024 but still displays 2021 reception photos is creating a patient experience mismatch. Any significant change to your physical environment, such as renovation, new equipment, new signage, or a relocated entrance, triggers an immediate photo update requirement.
Treating dental GBP photos as separate from the rest of your GBP strategy
Your photos work in combination with every other signal layer in your profile. A practice with excellent photos but a weak description, wrong primary category, or disabled attributes is leaving most of the conversion potential of its visual content unrealized. This is why photo optimization is introduced as Layer 6 in the complete Google Business Profile optimization guide for dental practices, after foundation, category, completeness, description, and attributes have been addressed. Photos that sit on top of a correctly configured profile convert patients. Photos that sit on top of a broken one generate clicks that don’t book.
Key takeaways
- Photo volume without a photo strategy is noise. Google rewards profiles whose images accurately and completely represent a legitimate, operational dental business. Eleven well-chosen photos outperform forty-seven random ones in both ranking signal and patient conversion.
- Google processes photos as structured data, not decoration. Its classification and quality scoring systems evaluate category accuracy, resolution, originality, and location relevance. Stock images, text overlays, and low-resolution uploads are penalized at the signal level.
- Upload sequence and cadence matter as much as content. Spacing your initial uploads over two weeks and maintaining two new photos per month creates a freshness and activity signal that bulk uploading never produces.
- Geotagging adds a structured geographic signal to every photo. Enable location services when shooting on a smartphone, or embed coordinates manually before uploading from a dedicated camera. It is one of the lowest-effort, highest-return technical optimizations in the photo layer.
- Photos amplify a correctly configured profile; they cannot rescue a broken one. Category selection, NAP consistency, and attribute completeness must be in place before the photo layer reaches its full conversion potential.
Your next action this week
Open your GBP photo panel in Business Manager and audit what you currently have. Count the photos in each category: exterior, interior, team, and at work. Identify which categories are empty or thin. Note which photos are outdated, poorly lit, or show staff members who have since left the practice.
Then build your upload queue for the next two weeks using the sequence above. Start with exterior and reception photos; these are the highest-priority categories for both Google’s classification system and patient first impressions. If you don’t have current, well-lit photos of these spaces, schedule a thirty-minute phone shoot this week. A modern smartphone in good natural light produces images that meet every technical requirement Google enforces.
For the complete framework covering every content type in your dental GBP visual layer, photo types, Google Posts, cover photo strategy, and video, the complete GBP photos and content guide for dental practices brings all of it together in one place.